Keeping your vehicle’s engine in top condition requires regular maintenance, and one of the most crucial tasks is changing your engine oil. In this Step-by-Step Guide to Changing Your Engine Oil, we’ll walk you through the process, ensuring you can complete this task confidently and efficiently. Whether you’re experienced in vehicle maintenance or new to the DIY approach, this guide will help you take control of your car’s upkeep.
Why Changing Your Engine Oil is Essential
Understanding the importance of regular oil changes is the first step in this Step-by-Step Guide to Changing Your Engine Oil. Engine oil acts as a lubricant, reducing friction among engine components and preventing premature wear and tear. Over time, oil breaks down and accumulates contaminants, making it less effective. Without regular oil changes, your engine can suffer from increased friction, overheating, and ultimately, severe damage. By following this Step-by-Step Guide to Changing Your Engine Oil, you ensure your vehicle runs smoothly, improves fuel efficiency, and extends its lifespan.
Tools and Materials You’ll Need
Before diving into this Step-by-Step Guide to Changing Your Engine Oil, gather all the tools and materials you’ll need for a seamless process. Having everything prepared beforehand will save you time and frustration. The tools required include an oil filter wrench, socket wrench, oil drain pan, and funnel. Additionally, you’ll need a new oil filter, fresh engine oil, clean rags or paper towels, and a jack with jack stands. By being well-prepared, you can follow the Step-by-Step Guide to Changing Your Engine Oil without unnecessary interruptions.
Step 1: Prepare Your Vehicle
The first task in this Step-by-Step Guide to Changing Your Engine Oil is preparing your vehicle properly. Park your car on a flat, stable surface to avoid accidents. Turn off the engine and allow it to cool for a few minutes before starting the oil change process. This ensures that the oil has settled and reduces the risk of burns from hot engine parts. Remember to engage the parking brake for added safety. If your vehicle is low to the ground, use a jack to lift it, then secure it on jack stands before proceeding with the Step-by-Step Guide to Changing Your Engine Oil.
Step 2: Locate the Oil Drain Plug
In this part of the Step-by-Step Guide to Changing Your Engine Oil, you’ll need to locate the oil drain plug. The oil drain plug is typically found on the bottom of the oil pan, which is positioned near the engine’s lower end. Once you’ve found it, place the oil drain pan directly beneath the plug to catch the used oil. This crucial step in the Step-by-Step Guide to Changing Your Engine Oil ensures that the old oil is collected without making a mess.
Step 3: Drain the Old Oil
Now comes the step where you drain the old oil from your vehicle. Using a socket wrench, carefully loosen and remove the oil drain plug. Be cautious, as the oil may still be warm. Allow all the old oil to drain fully into the oil pan. This step can take several minutes, so patience is key. Once the oil has completely drained, replace the drain plug and ensure it is tightened securely. Following this step in the Step-by-Step Guide to Changing Your Engine Oil will prepare your vehicle for the next phase.
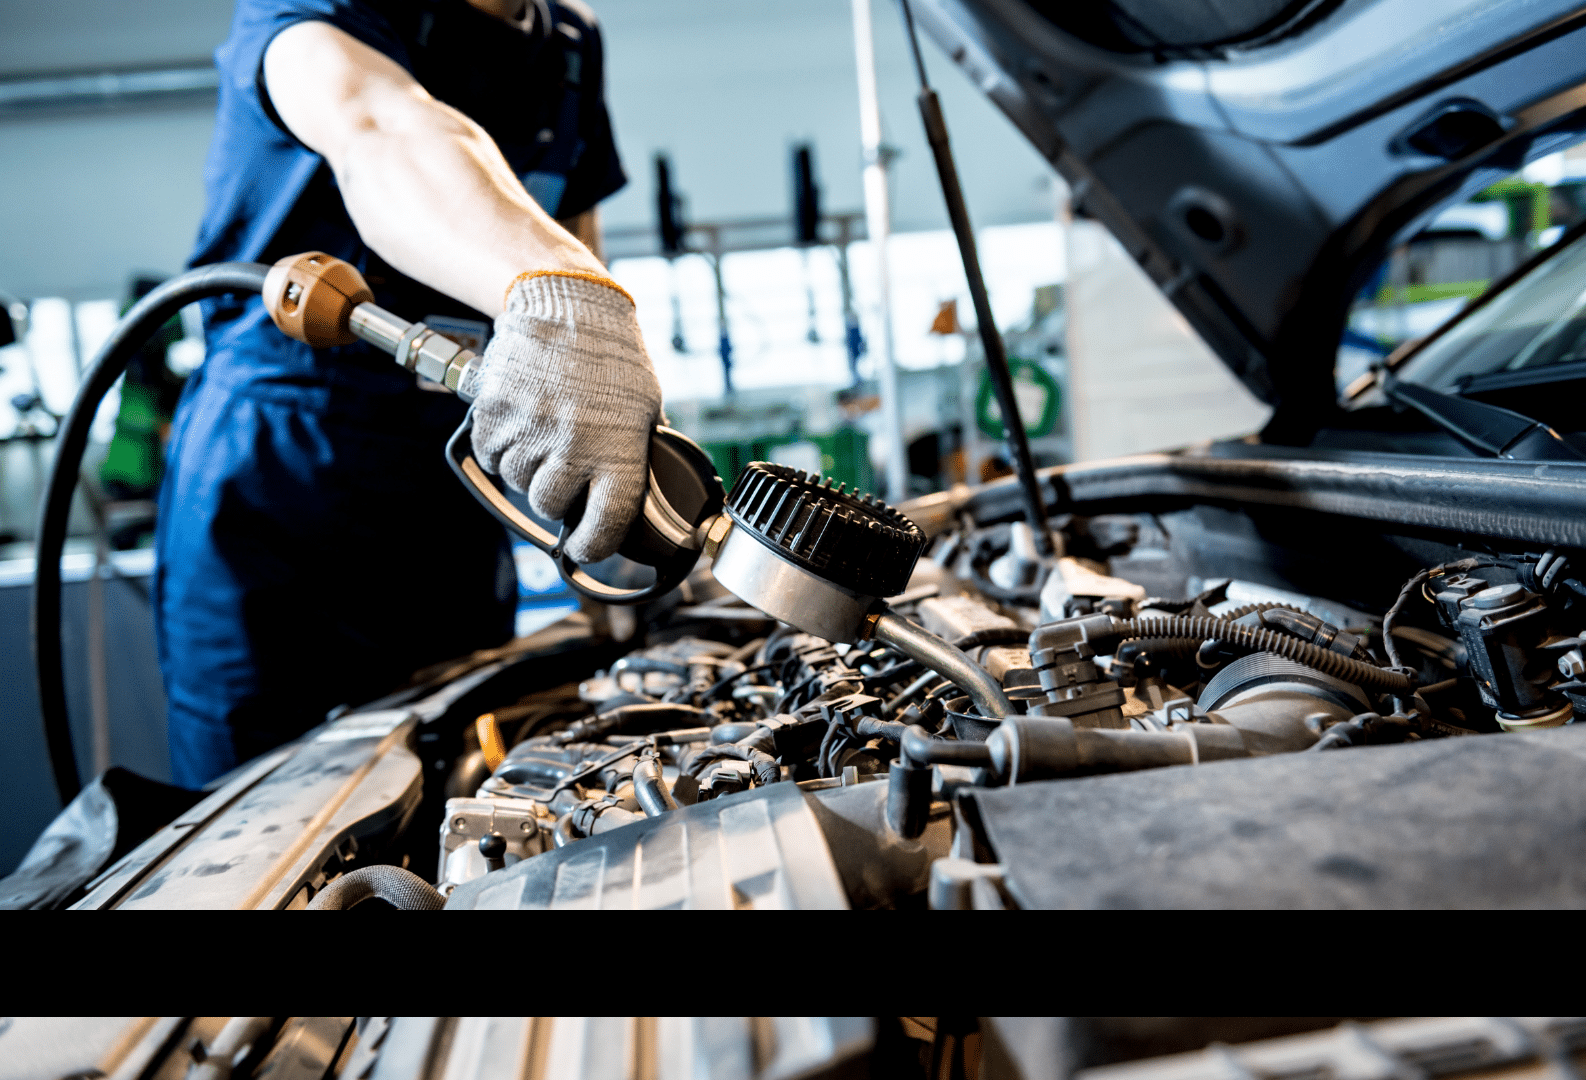
Step 4: Replace the Oil Filter
The next crucial step in this Step-by-Step Guide to Changing Your Engine Oil involves replacing the oil filter. The oil filter is typically located near the oil pan and is responsible for trapping contaminants in the oil. Use the oil filter wrench to remove the old filter carefully, as it may still contain some oil. Dispose of the used filter properly to avoid environmental harm. Before installing the new filter, apply a small amount of fresh oil to the rubber gasket on the top of the filter. This creates a secure seal and helps prevent leaks. Screw the new filter on by hand until snug, then give it an additional quarter turn as outlined in this Step-by-Step Guide to Changing Your Engine Oil.
Step 5: Add Fresh Engine Oil
Now that you’ve removed the old oil and filter, it’s time to add fresh engine oil, as detailed in this Step-by-Step Guide to Changing Your Engine Oil. Locate the oil filler cap on the top of the engine and remove it. Place a funnel into the opening and slowly pour in the correct amount of oil specified in your vehicle’s owner’s manual. Ensure you are using the right type of oil for your engine. After adding the oil, securely replace the filler cap to complete this step of the Step-by-Step Guide to Changing Your Engine Oil.
Step 6: Check the Oil Level
In this step of the Step-by-Step Guide to Changing Your Engine Oil, it’s essential to check the oil level to ensure everything is in order. Start the engine and let it run for a minute, allowing the new oil to circulate throughout the engine. Then, turn off the engine and wait a few minutes for the oil to settle. Using the dipstick, check the oil level. If it’s below the recommended level, add more oil until it reaches the correct mark. This step ensures that your vehicle has the optimal amount of oil and completes this part of the Step-by-Step Guide to Changing Your Engine Oil.
Step 7: Dispose of Used Oil Properly
Proper disposal of used oil is the final step in this Step-by-Step Guide to Changing Your Engine Oil. Never dispose of used oil by pouring it down the drain or discarding it in the trash. Used oil is hazardous and can cause significant environmental harm. Instead, take the old oil and used filter to a recycling center or an auto parts store that accepts used oil for recycling. Completing this step ensures that you’re not only taking care of your vehicle but also protecting the environment by following the principles of this Step-by-Step Guide to Changing Your Engine Oil.
Conclusion
By following this Step-by-Step Guide to Changing Your Engine Oil, you’ve taken an essential step in maintaining your vehicle’s health. Regular oil changes keep your engine running smoothly, improve fuel efficiency, and extend the life of your car. Whether you’re doing it yourself for the first time or refining your technique, this guide provides all the information you need to complete the task with confidence. Remember, proper preparation, following the right steps, and disposing of the used oil responsibly are all part of a successful oil change experience.


1 thought on “Step-by-Step Guide to Changing Your Engine Oil”
Can you be more specific about the content of your article? After reading it, I still have some doubts. Hope you can help me.